Scenario – meeting engagent.
“Buffalo 2-7, this is Buffalo Six,
do you copy?”
The Lieutenant toggled his ARPANet
receiver.
“Buffalo Six, Buffalo 2-7, we
copy, over”
A burst of static and then the
company commander's voice came back online.
“Buffalo 2-7, we have co-ordinates
for a downed Oxcart beacon, your orders are to move and secure the
area. Co-ordinates to follow”
The Lieutenant's transceiver flashed
into life, bringing up co-ordinates roughly a mile south and three
miles east of the platoon's current position.
“I need hardly remind you,
Lieutenant, that the A-12 is highly classified technology, it cannot
fall into Soviet hands. We have to assume Ivan has also picked up the
signal and will be moving to investigate.”
“Copy that sir – we're on our
way”
The platoon sergeant already hand
the Humvee's engine running. With a howl, the Rocketeer squad ignited
their boosters and erupted into the air, submachineguns scanning the
ground for hostiles.
The Lieutenant keyed his transceiver
again. “Buffalo 2-7 – Move out!”
This scenario is a simple meeting
engagement relying on victory points to determine the winner. Victory
points are gained by occupying objectives and breaking enemy forces –
the higher points value of the broken unit, the more victory points
received. The victory trigger (as noted in the rulebook) is when one
side has accumulated victory points to the level of 10% of the battle
points value. 1000 points – 100 victory points to trigger a win.
1000 points is a good level for a
platoon sized engagement with added support and special units and can
be wrapped up within the space of a couple of hours. For this battle
report, we kept notes and used a cellphone camera to take basic snaps
of key moments in the battle.
Setup and deployment
We used the studio folding three piece
table for this battle (it's first!) and placed six objectives – two
on each folding piece.
Objective 1 – Downed A-12
Objective 2 – Cliff top
Objective 3 – Ruined department store
Objective 4 – centre of woods
Objective 5 – low hill
Objective 6 – Ruined tenement block
Generally, the more terrain the better
is the rule with Apocalypse: Earth games – using true
model's-eye-view to track lines of sight means that battles on open
fields very quickly degenerate into tedious slugfests, where as dense
terrain really allows for skill in infiltration and manoeuvre.
Battlegroups -
Atlantic Alliance
Buffalo 2-7
HQ – Platoon Command Element
Line units:
Alpha Squad – Rifle squad
Bravo Squad – Rifle squad
Charlie Squad – Missile squad
Delta squad – Light machinegun squad
For this battle, the squads would split
down into two man fireteams.
Support Units:
Stealth Squad
Rocketeers
Humvee with Automatic Grenade Launcher
Fire Support – Copperhead Artillery
Strike
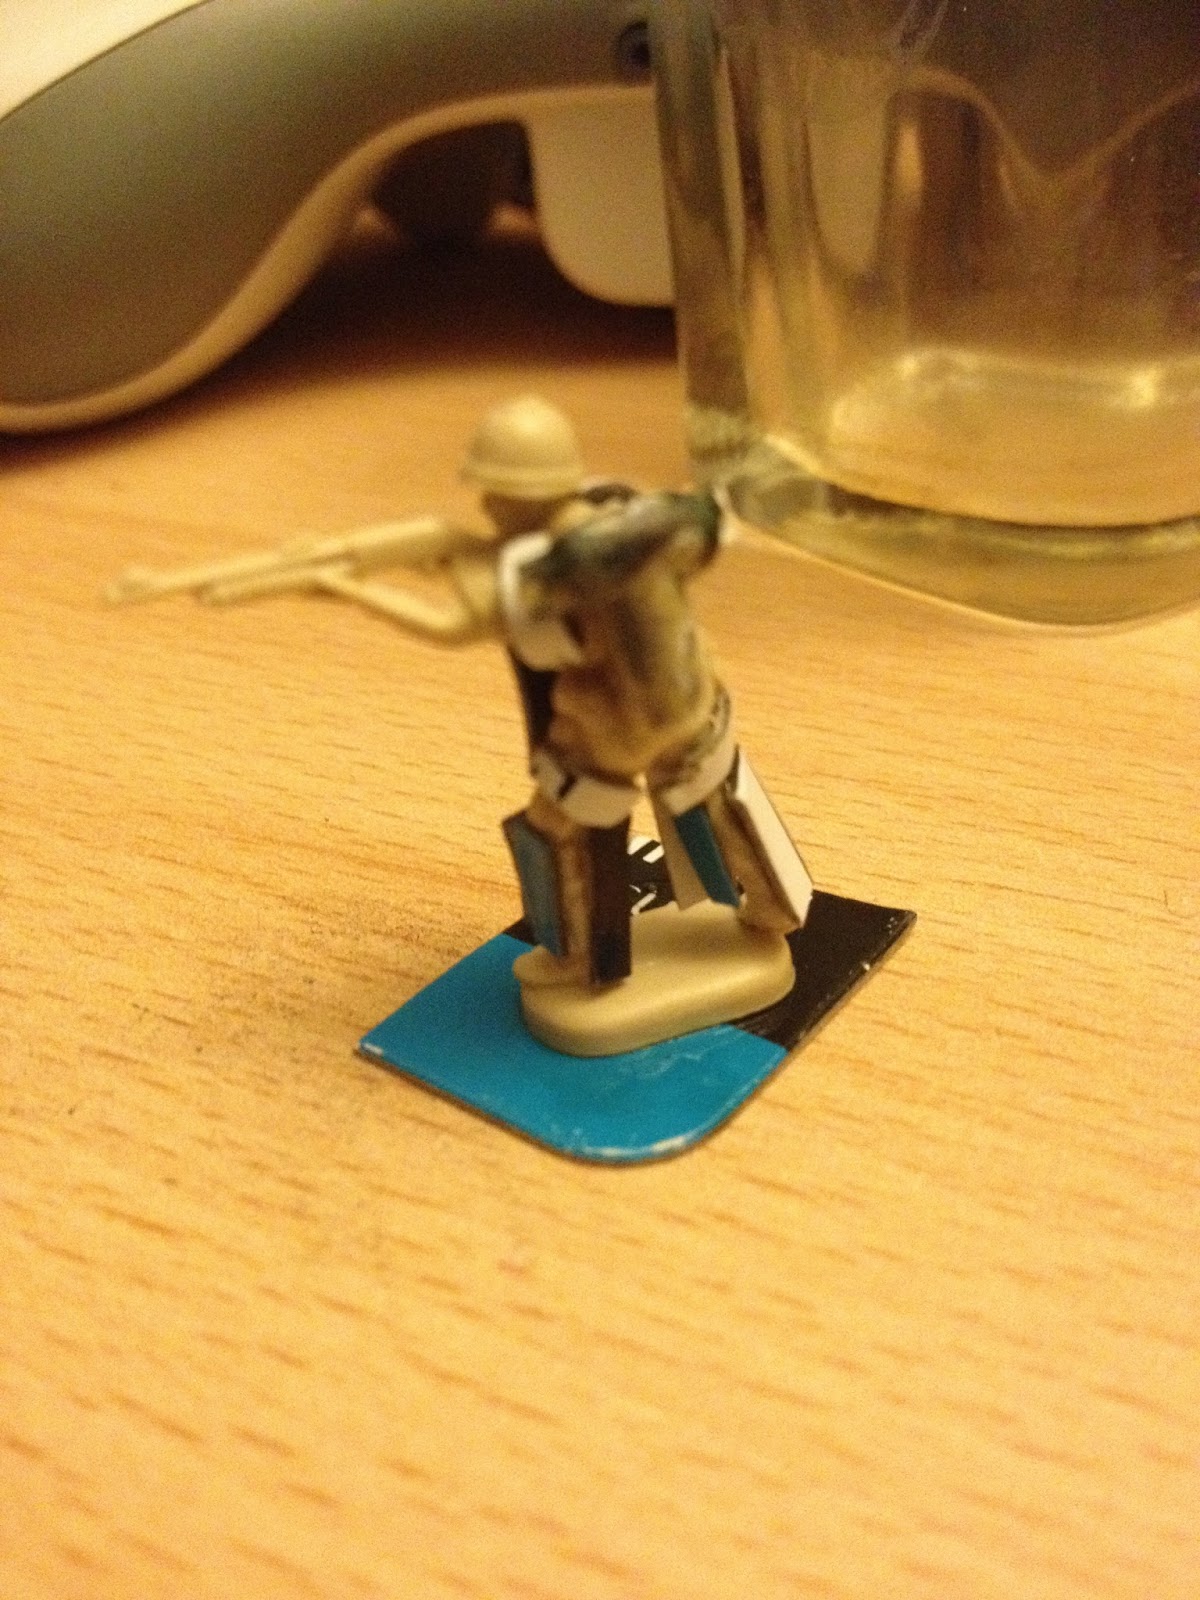
Buffalo 2-7 on parade! Front rank (l-r): Humvee with auto grenade launcher, Platoon Command Element, Ghost Sven (Stealth squad).
Middle rank - Alpha squad (Rifle), Bravo squad (Rifle), Charlie squad (Missile), Delta squad (Light Machinegun)
Rear rank: Warhawk 4-9 (Rocketeer squad)
Soviets – Battleforce Malenkoy
Platoon HQ
No.1 Squad – Rifles
No.2 Squad – Rifles
No.3 Squad – Rifles
No.4 Squad – Heavy Weapons
Support -
T-40 x 3 (Cherno Alfa, Cherno Brava, Cherno Troika)
Holy Mystic – Telekinesis,
Pyrogenesis, Mind Control, Level 2 Upgrade
Setup and deployment -
The Soviets won the initiative (someone
was asleep on the job!) and opted to deploy on the north edge of the
table.
Soviet strategy
Having fought the Atlantic Alliance
many times before during testing, the critical thing for a Soviet
commander is to not lose momentum – the AA ability to split into
fire teams allows them to dance around a larger force, outmanoeuvring
and chopping up the less wieldy Soviet formations. The crucial thing
is mass and concentration of force – if you can pin down those
dainty little fireteams and destroy them, you can very quickly
overwhelm the numerically small and brittle AA battlegroups. They
punch hard, but they can't absorb much themselves.
With this principle in mind (and
having scored the unexpected bonus of deployment edge choice!) I had
a quick look at the terrain and formulated a rough plan. My rifle
infantry and HQ would mass in the woods on the centre-left with the
goal of taking objectives 4 and if possible 5. The heavy weapons
squad would lug their heavy machineguns and mortars up the steep hill
to take objective 2 – the machineguns would deploy atop the hill in
cover where they could pour fire down on the Alliance forces below,
while the rifle elements would act as spotters for the mortars to
fire indirectly.
The tanks would go in the centre, with
the goal of securing objective 1 and at least denying objective 3 to
the Alliance. On the far right, seeing the opposition had only
deployed a squad of jet pack infantry, I decided to take advantage of
the Holy Mystic's status as an independent unit and give him and his
bodyguard the task of taking objective 6 and destroying the pesky
Rocketeers.
With this plan, I was confident of
crushing the puny, decadent Americans!
Atlantic Alliance strategy:
Lost the initiative to the Soviets!
Someone back at 28th Infantry HQ was going to get a
chewing out – in all seriousness, the high initiative of the
Atlantic Alliance is one of the key factors that goes towards making
up for their inevitable numerical inferiority. Losing this advantage
was a blow. Still, no use crying over spilt milk.
The Atlantic Alliance is almost
invariably outnumbered by it's opponents, and experience has shown
the best way to handle them is to get your forces into good positions
to use the “deploy” skill and cut the enemy to pieces before
counterattacking.
With this in mind, the first priority
was to find good positions for my anti-tank weaponry. The only real
tank country looked to be in the centre in front of objective 1, so I
had to assume the Holy Soviet Army would be placing their T-40s
there. To counter this, I positioned the Humvee with it's
thermite-capable grenade launcher in the woods on my right, where it
could use it's small size to get into a good camouflaged firing
position, getting the enfilade/ defilade fire combination. Charlie
squad deployed onto the centre left with the idea of deploying into
cover on the low hilltop and getting the same advantage.
As deployment progressed it became
clear that most of the Soviet infantry would be pushing through the
woods on the right, so Alpha, Bravo and Delta squads were tasked with
deploying into cover, taking objective 5 and inflicting sufficient
casualties on them to successfully counterattack in the later phases
of the game. This necessitated the Platoon Command Element to be
deployed centrally to maintain platoon coherency.
The Rocketeers went on the far left to
take objective 6 and their jet packs would enable them to work as a
“fire brigade” unit, moving quickly to support units that might
otherwise be overwhelmed, and last but not least the Stealth squad
was placed centre left on the reverse slope of the low hill, with the
plan of moving up into cover and denying objectives 2 and 3 to Soviet
infantry.
Buffalo 2-7 was ready for battle –
bring it on, Ivan!
Turn 1
Having won the initiative, the Holy
Soviet Army opted to move first.
With a roar of diesel engines, T-40
Cherno Alfa burst forward at full throttle, hoping to
engage the Alliance Humvee and neutralise the heavy weapon it
carried. Unfortunately the small vehicle was too well hidden, so Alfa
turned it's guns on the exposed infantrymen of Alpha Squad, killing
three of the four riflemen with well aimed blasts from it's
machineguns.
In response, fireteam Charlie 1 dived
forwards into cover, bringing their Stinger/TOW launcher to bear on
the next Soviet tank in line but the missile plowed into the ground
short of it's intended target.
Hefting their mortars and heavy
machine guns onto their shoulders, the Soviet Heavy Weapons Squad
scrambled up the steep slopes towards objective 2. A moment of doubt
and dread washed over the soldiers as they were briefly afflicted by
Battle Fatigue, but their nerve held. Settling into position on the
bluff overlooking the battlefield, the squad opened up on Charlie
Squad with mortars, rifles and machine guns, dropping three of the
Americans including the missile launcher.
Over toward the woods, fireteam Bravo
1 ducked forwards into cover of a hedgerow, firing into No. 1 Rifle
Squad and inflicting one kill. However the hedge proved boobytrapped
with an incendiary device and suddenly erupted in flames! Luck was
clearly not with the Atlantic Alliance so far, six infantrymen down
out of only twenty-six to start with, with only one kill to set
against it - and the first turn wasn't over yet!
No. 1 Squad fired back as they moved
into the woods, targeting the Humvee and Bravo 2, but the Alliance
infantry were too well covered and the Humvee's Roswellium panel
upgrade deflected the one round that struck.
Determined not to simply react to
events, the Rocketeer squad on the western edge of the Alliance
deployment zone went onto the offensive, boosting off with their
jetpacks to capture objective 3 and hosed the cowering Holy Mystic
and his bodyguard with submachinegun fire, killing two bodyguards and
suppressing the unit. Perhaps a break?
The third Soviet tank, Cherno
Troika, spied an opportunity and gunned its engine, clouds of
blue smoke erupting behind it. The cunning commander moved forward
around the front of objective 1 to gain an enfilade fir opportunity
on Delta squad, wiping Delta 1 and suppressing Delta 2.
With one Soviet tank still to move,
the Alliance's Platoon Command Element came into play, moving forward
into covered positions. Three assault rifles opened up on the Heavy
Weapons Squad, killing a machinegunner, while the Lieutenant toggled
his ARPANet switch to request a priority Copperhead fire support
mission onto Cherno Brava, the only Soviet tank not yet
activated. A kilometer away, a single 155mm gun from the Canadian
battery deployed in support of the sector fired almost
instantaneously. The laser guided shell bore through the turret,
blowing out the armament and scoring a weapon kill on the tank.
Over in the woods, No. 2 Rifle Squad
elected not to try and exchange fire with their opponents and
double-timed deeper into the woods looking for cover, while the
Stealth sniper team dove forward into cover, drew a bead on the
Soviet CO – and missed!
No. 3 Rifle Squad followed their
comrades, double-timing into advantageous positions in the woods,
while the Humvee crew dove forwards into cover of their own and
pumped three thermite grenades toward Cherno Alfa, blowing off
a track and causing the fast moving take to slew into the downed
A-12. This left it in the unfortunate position of being stuck at a
forty five degree angle, turret and hull weaponry stuck facing
skywards! An “official” mobility kill therefore became an
effective weapon kill too. Behind it, the Soviet Lieutenant thought
better of being in full view of the Alliance Stealth Squad
sniperscope and moved forward into the woods to add weight to the
rifle infantry assault.
Finally, Bravo 2 moved up into the
hedgerows to get a better field of fire into the worryingly numerous
oncoming Soviet infantry, killing the sergeant of No. 2 Squad. The
brave frontoviki held their nerve, however – no doubt helped
by the inspiring presence of their nearby Commissar! Alongside them,
fireteam Alpha 1 took up position on objective 5, firing into the
Heavy Weapons squad on the bluffs above them but failing to score a
hit.
Cherno Alfa, crippled by a thermite grenade, slews out of control and ends up with her weapons facing skyward!
End Phase:
The hedgerow fire caused by the
incendiary booby trap continued unabated, smoke and flames licking at
the Bravo Squad troops using the hedgerow for cover. However it
didn't spread and despite raw eyes and coughing, caused no more
casualties amongst the hard pressed Americans.
Fireteam Delta 1 shook off their
suppression, steadied by the booming, reassuring voice of their
indomitable platoon sergeant. Over on the Soviet right flank,
however, the highy strung Holy Mystic failed to recover his nerve,
with him and his remaining bodyguard retreating right off the table
edge!
Victory Points:
Holy Soviet Army – 63
Holding objectives 1 & 2 (20pts), breaking Alpha, Bravo, Charlie & Delta squads (53pts)
Atlantic Alliance – 50
Holding objectivcs 3 & 5 (20pts),
broke Holy Mystic, plus mobility kill on Cherno Alfa and
weapon kill on Cherno Brava (30pts)
Tactical Notes:
After Cherno Alfa's rampaging
opening move, Charlie Squad did not target it with their Stinger/TOW
launcher, instead turning the weapon on the next tank in formation.
This was because Alfa had already been activated – tempting though
it is to wreak vengeance on a tank that has gunned down three of your
precious infantrymen, it's more important to target a vehicle or unit
that hasn't been activated yet and therefore poses a far graver
threat. Apocalypse: Earth is all about taking the initiative,
rather than simply passively responding to your opponent!
The Soviet Heavy Weapons Squad deploy onto Objective 2, occupying the heights with a commanding view of the battlefield.
Turn 2
The Atlantic Alliance won the
initiative and elected to move first.
Having effectively crippled Cherno
Alfa in the first turn,
the Humvee crew quickly reloaded their grenade launcher with
fragmentation ammo and with a squeal of tyres executed a violent
handbrake turn, pulling across cover to let rip into No. 2 rifle
squad, killing half the remaining infantry and suppressing the rest.
On the other side of the battlefield, Cherno Troika gunned it's
engine and moved forward to collect objective 6 in a cloud of diesel
fumes. The turret shook as the main cannon and coaxial machine gun
opened up on the Stealth squad, but the dastardly optical camouflage
suits saved the two men from harm.
Safe in their vantage point, the
sniper took careful aim on one of the Soviet heavy machinegunners on
the heights around objective 2 – this time his aim was true, and
the man's head exploded in a puff of red mist. The other squad
members were instantly suppressed by this, ducking back into cover
and cowering out of sight of this unseen executioner!
Realising that although he was now
effectively unarmed, he was still alive and his tank still
functional, Cherno Brava's driver threw his vehicle into gear and
advanced to collect objective 1, hopefully blocking any fields of
fire.
In the woods behind the Humvee, Bravo
2 decided to find some cover that wasn't on fire, moving forward into
the bushes throwing smoke and frag grenades towards No. 3 squad. On
discovering that they had suffered zero casualties from this
onslaught, the squad dusted themselves off and run fall tilt towards
objective 3, securing it. Seeing his buddies now hopelessly
outnumbered, the lone surviving Alpha squad trooper quickly deployed
onto objective and fired a burst from his assault rifle, dropping one
of No. 3 squad's riflemen. Behind them, No. 1 squad fired on Bravo 2,
but were defeated by cover and the drifting haze from their smoke
grenade and had to be content with moving forward in support of the
attack on objective 4.
Near the Alliance centre, Charlie
squad's sole survivor sought vengeance for his squadmates, opening up
on the only targets he could see – the Soviet Heavy Weapons squad.
Two burst from his assault rifle dropped their sergeant – that
squad was STAYING down!
Meanwhile the Soviet HQ section moved
up behind the assaulting riflemen, maintaining platoon coherency. The
rifle-armed members fired ineffectively on Bravo 2, while Lieutenant
Malenkoy and his radio operator called in a supporting fire strike on
the Humvee's position. Their Alliance counterparts deployed into
cover and fired, also ineffectively, on the Soviet HQ, while Delta 1
reinforced the single Alpha squad trooper on objective 5, again
targeting the Soviet HQ but this time with rather more success-
dropping Lt. Malenkoy himself!
The Rocketeer squad swooped in to
steal objective 1 from under the noses of the Soviet tanks, firing
into No. 2 squad and causing a further casualty to the already-mauled
squad.
End Phase:
Despite their heavy casualties, the
stubborn survivors of both No. 2 squad and the comrades in the Heavy
Weapons squad rallied themselves to rejoin the assault, while a
deadly accurate fire mission destroyed the Humvee. The Roswellium
armour couldn't protect the vehicle from the heavy artillery barrage
and the the three 105m shells tore it to pieces.
Victory Points:
Holy Soviet Army – 72
Holding objectives 1 & 5 (20pts),
broke Alpha, Bravo, Charlie & Delta squads (43pts), destroyed
Humvee (9pts)
Atlantic Alliance – 50
Holding objectivcs 1 & 5 (20pts),
broke Holy Mystic, plus mobility kill on Cherno Alfa and
weapon kill on Cherno Brava (30pts)
Tactical Notes: Fire Support
This game showed the difference in
fire support doctrine and capabilities between the Atlantic Alliance
and Holy Soviet Army. Due to the sophisticated ARPANet link, the
Alliance lieutenant was able to instantly receive his Copperhead
strike, whereas the Soviet gunners took until the end phase to
respond. This means that AA fire support is much more usable, whereas
a Soviet commander must target a unit or vehicle that has already
moved in order to make sure that the target doesn't simply move out
of the way!
Pitched battles around objective 4 - Bravo squad and the Humvee face massed Soviet rifle squads!
Turn 3
The Holy Soviet Empire won the
initiative and elected to move first.
The Heavy Weapons Squad yelled
defiantly as they charged back up the hill to regain objective 2 –
and were immediately hit by fire from the Alliance Stealth sniper and
the sole survivor of Charlie Squad who had been waiting on overwatch
for just such an eventuality! Despite losing a further two members to
sniper and assault rifle fire, this time their morale refused to
break, and regaining their heavy machineguns they brought a Rocketeer
crashing to the ground. Meanwhile the mortar teams fired on both
Charlie and the Stealth team. Charlie's sole remaining squad member
was hit but his body armour saved him, the shell fragment lodging
itself in his concealed hip flask. The trooper swore bitterly, seeing
his precious home brew leaking out onto the earth.
Rather than responding to this threat,
the Rocketeer squad engaged boosters and vaulted over the bluff,
sailing over objective 2 and the amazed Heavy Weapon Squad and coming
to rest directly behind Soviet HQ. “Surprise!” yelled the
Rocketeer sergeant before he and his squad massacred the HQ to a man
at point blank range. Somehow, despite the loss of first their
officer but now their Commissar and the entire command team, the
Soviet line held.
Alliance Rocketeer infantry take out the Soviet HQ in a devastating surprise attack!
Seething with rage at what he had just
seen, Cherno Troika's commander ordered the tank into action
to roll up the Alliance flank, but the fortunes of war struck again
and the tank's diesel engine sputtered and died. Enraged, the tank
crew opened up on the Stealth squad with everything they had. This
time, not even his sophisticated optical camouflage suits could save
the sniper and the spotter could only watch as the hail of cannon and
machinegun fire blew his comrade into dust.
The Alliance platoon command element
decided to stick where they were, deploying into cover to maximise
their safety and firepower. However, despite opening up on the Soviet
Heavy Weapons Squad with everything they had, they scored no hits.
Not so for No. 2 Rifle Squad who reacted to the sudden appearance of
the Rocketeer squad by ducking into cover, wheeling around and
managing to bring down one of the hovering infantrymen. This victory,
however, was quickly punished by the sole remaining Alpha Squad
trooper, who was now presented with an excellent enfilade shot into
No. 2 squad and promptly dropped two of them.
However, in the woods around objective
4 the sheer weight of Soviet numerical superiority was starting to
tell. No. 3 squad charged Bravo 2, losing a man to overwatch fire but
still overwhelming the Alliance fireteam in close combat. Recovering
from the slaughter, the squad was promptly hit by close range
overwatch fire from Delta 1, losing all but one of its members in a
hail of assault rifle and light machinegun fire. In the closing
moments of the battle, No.1 squad got close enough to the heights to
recapture objective two.
Bravo 2 is overrun in close combat
With practically nothing left of his
platoon, the Alliance commander was left with no alternative but to
retreat. His command had managed to inflict sufficient losses on the
Soviets that they were unable to secure the downed A-12, and as the
remains of Buffalo 2-7 pulled back from the field carrying their dead
and wounded, an F-4 strike obliterated the precious airframe,
preserving its secrets for another day.
Victory Points:
Holy Soviet Army – 112
Holding objectives 1, 2, 4, & 6
(40pts), broke Alpha, Bravo, Charlie & Delta squads (43pts), the
Rocketeers and Stealth squads (20pts), destroyed Humvee (9pts)
Atlantic Alliance – 66
Holding objective 5 (10pts), broke Holy
Mystic, plus mobility kill on Cherno Alfa and weapon kill on
Cherno Duo (30pts), broke or destroyed Soviet HQ, No. 1 and 3
squads (26pts)
Holy Soviet Empire debriefing:
A resounding Soviet victory then –
but it was closer than it looked on paper. Two out of three tanks
destroyed, the headquarters unit wiped out, Holy Mystic routed and my
assaulting rifle infantry were down to nine men between the three
squads. There was no way this was enough to secure the crash site, so
we agreed that the Soviets were unable to take possession of the downed A-12 and the retreating Alliance remnants called down an airstrike
to destroy it.
Heavy losses are inevitable when
you're a Soviet commander, so I'm fairly sanguine about the fate of
my rifle squads – they did their jobs and died for their Emperor!
What I should have done differently is kept to my own principle of
force concentration – the Holy Mystic served no purpose out on the
right flank on his own. Deployed in support of the assault through
the woods he could really have sped things along. Still, no point
crying over spilt milk – a new round of draft notices have already
been issued, and we'll be back!
Atlantic Alliance debriefing:
Damn it! All those lives lost, and
what did we gain? Nothing! Still, it's worth realising I had some
appalling luck with the dice – who loses initiative twice
with a rating of 4 to an opponent with a rating of 2? And it's worth
noting that I suffered most of my casualties on that first
catastrophic turn, when my force was at its most vulnerable and when
an Alliance commander would normally expect to have the drop on his
opponent.
My plan was largely sound, but one
thing I would do differently is be more aggressive with the
Rocketeers. They were the perfect antidote to the firepower of the
Soviet Heavy Weapons Squad and should have been used to annihilate
them, leaving the Humvee and Charlie Squad to hit the Soviet armour.
Still, every time I play the Atlantic
Alliance, I learn something. There'll be a reckoning soon enough,
Ivan!